Although I’m still quite liking the current dulcimer I am playing that I bought off Ebay, I was curious how much time and effort is required to build one from a kit. As a previous post notes, I crafted a 16/15 dulcimer from ‘scratch’ a couple of years ago, but found that although it sounds LOUD, it is very heavy and has some string spacing issues. I guess it is more of a parlour dulcimer but I want one that I can take to gatherings and jams. I also thought by building a kit, I would be able to absorb the skills from another craftsperson, save some money and have some fun with a new project.
I ordered two kits from Music Makers from Minessota:
- a Reverie Harp kit – ($269 US) sells assembled and finished for $599 US
- a 16/17 Dulcimer ($475 US) sells assembled and finished for $950 US
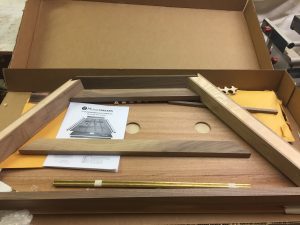
The kits arrived as expected with no damage. On initial exploration I was impressed by three things:

- The instruction booklet was very detailed and when I followed it EXACTLY I didn’t really have any problems – when I did the usual man thing and didn’t read the instructions carefully, I had to redo a couple of small details – but no major mistakes.
- There was no knots or imperfections in the wood- something I had to deal with when making the last one from rough lumber.
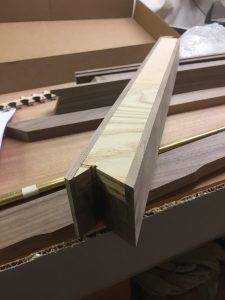
- The side pin blocks, which has to withstand
 the tension of all the strings, are best made out of laminated hard maple – and they were in the kit. But they were slotted into the walnut sides producing a nice dark effect and still highest quality. It took me some time to figure out how I could replicate the joinery if I make another with a similar design.
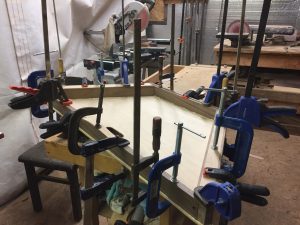
The glue up went pretty well as expected – but as always you never have enough clamps (as evidenced by the hodge podge connection of clamps I used). Both the back (3/16 hardwood plywood) and the top (solid mahogany) were oversized so I had to either sand or

use a trim bit on the router to cut them to exact size after gluing. I likely should have taken the router out of the router table (given the size of the glued up dulcimer) and perhaps scored the cut, but I managed to trim it down, with only one small run out. This run out into the top caused me to have to round the edge more than I had originally intended but it looks fine now.
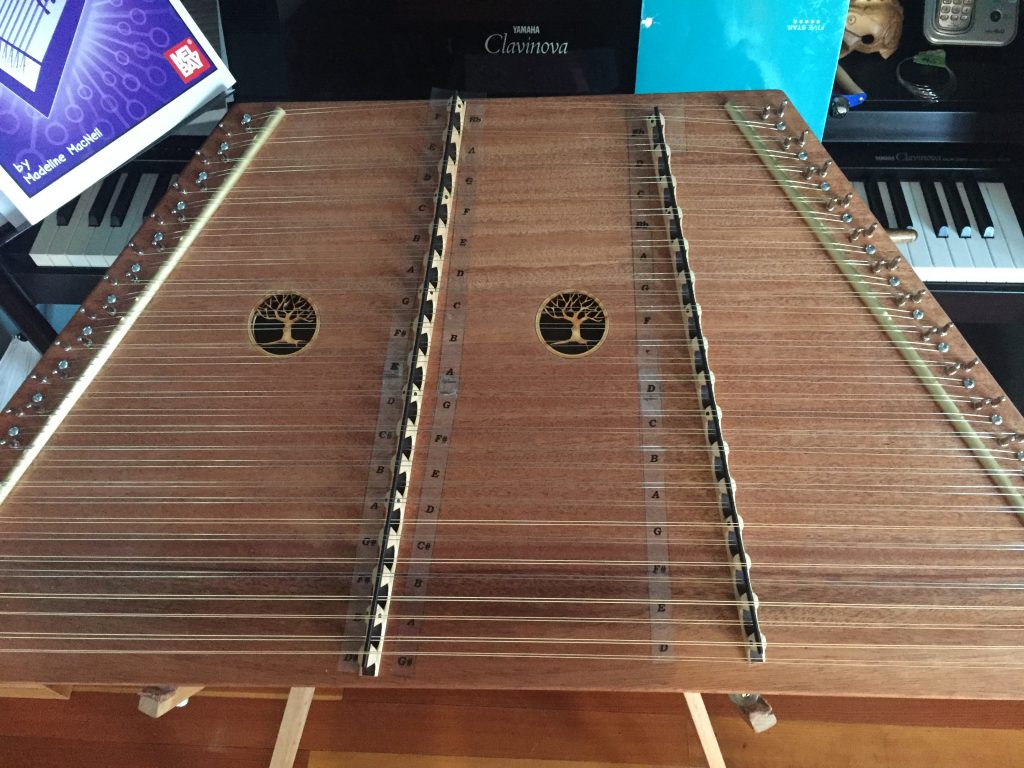
The sanding and finishing went well. My 30 year old finishing sander finally died (29 years after it sanded well). Giving me a good excuse to purchase a new oscillating hand sander ($100). I didn’t stain it – as the mahogany and walnut look fine and I put on about 6 coats of rub-on polyethylene.
The kit didn’t come with the usual hitch pins, but with stainless steel screws to hold the strings at the end of the strings without the tuning pin. This made it easier to hook strings on and drill receiving holes but doesn’t look as traditional as most hammer dulcimers. However, I didn’t want to wait for an order of hitch pins and so used the screws.
The stringing and tuning went as expected, but didn’t take as long as my last one as a single string was used, wrapped from the tuning peg to the screw hitch pin and then back to a second tuning pin to create a double string for each of the 33 courses. As expected the strings stretched after installation and the treble bridge had to be shifted back and forth to get the right position to give it tuned on both sides, but it worked out!
 And most importantly it sounds pretty good!
Now my last problem is finding out what to do with my 5th hammer dulcimer!! Anyone want to buy a brand new 16/17 dulcimer??